Quick Answer: What Should a GitHub Profile README Template Include?
A strong GitHub profile README template includes a short intro, current focus, selected projects, technical stack, contact or portfolio links, and a small number of visual signals such as badges, contribution charts, or a 3D contribution visual. The best template is modular: you can remove any section that does not help a visitor make a decision.
Most searches for awesome GitHub profile README or best GitHub profile README lead to long example lists. Those lists are useful for inspiration, but they do not decide what belongs on your own profile. This guide focuses on structure: which sections earn attention, which sections often become noise, and how to connect a README with tools such as github-profile-3d-contrib or GitHub City.
If you are adding a profile README for the first time, create a public repository whose name exactly matches your GitHub username, add a README.md file, and keep the first version simple. A clear profile with three strong project links usually works better than a profile full of animated badges and generic slogans.
The keyword boundary is important for this site: this page owns profile README template intent. The profile-3d-contrib guide covers automated 3D calendar images, while the homepage covers the instant browser-based GitHub City visualizer.
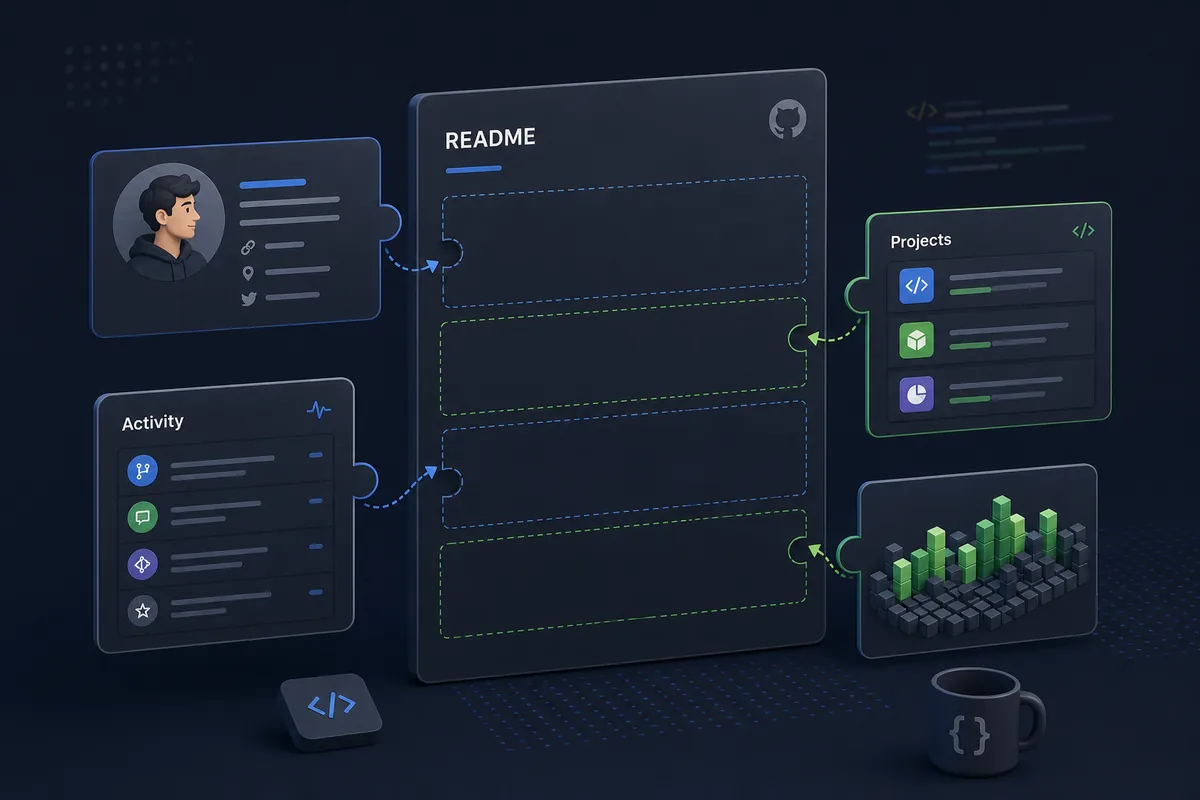
README Template Sections That Usually Earn Their Space
Think of the profile README as a compact developer landing page. The top half should answer three questions: who are you, what do you build, and where should the visitor click next?
Do not copy every section from an awesome list. Pick the blocks that match your current goal. A student profile, an open-source maintainer profile, and a freelance portfolio need different emphasis.
| Section | Purpose | Keep | Avoid |
|---|---|---|---|
| Opening line | Explain your role, focus, or learning path. | One sentence with a concrete stack or domain. | Generic claims such as passionate developer with no proof. |
| Featured projects | Move visitors to the work you want judged. | Two to four repos with outcome, stack, and demo links. | Listing every repository or only using badges. |
| Skills | Show what you can actually use. | Grouped languages, frameworks, and tools you would discuss in an interview. | A wall of logo badges for tools you barely know. |
| Activity signal | Show consistency without overclaiming. | Contribution graph, GitHub City link, or profile-3d-contrib image with context. | Treating activity volume as the only quality signal. |
| Writing and proof | Add depth beyond code links. | Blog posts, talks, case studies, package docs, or issue triage examples. | Empty social links or outdated articles. |
| Contact | Make the next step obvious. | Portfolio, email, LinkedIn, or project-specific contact path. | Too many competing CTAs. |
A Five-Step Workflow for Building the Template
The easiest way to finish a profile README is to separate planning from decoration. Write the content first, then add visuals only where they clarify the profile.
Use the workflow below when refreshing an old profile too. It helps remove stale badges, broken image links, and sections that no longer match your goals.
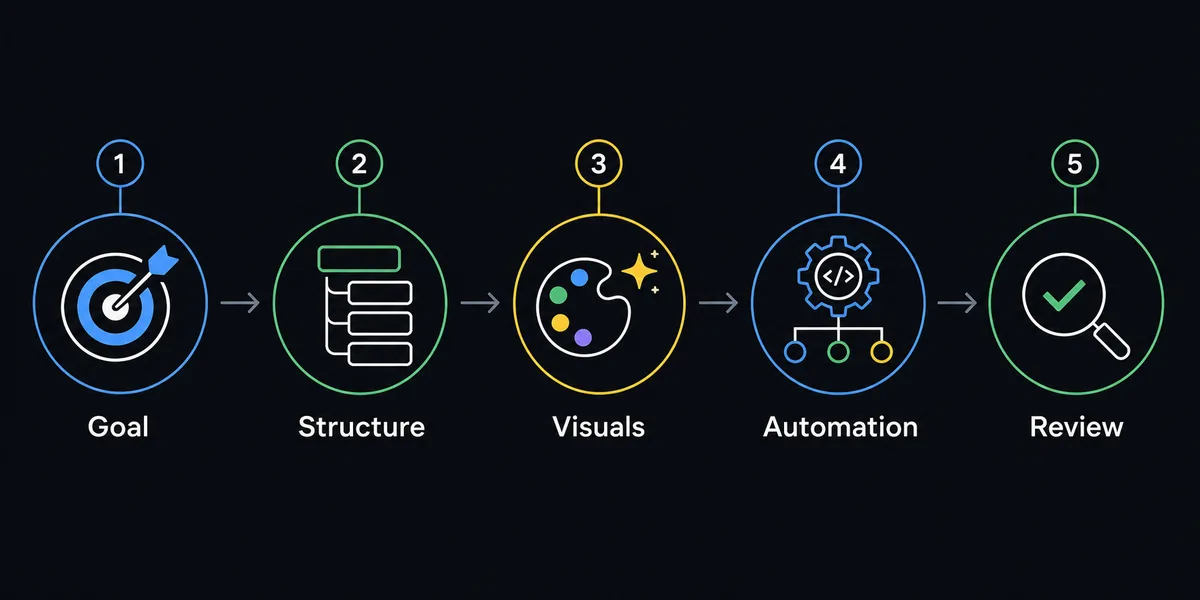
Define the visitor goal
Decide whether the README should help with hiring, open-source credibility, freelance leads, student learning, or project support. That goal controls the section order.
Draft the plain text structure
Write the intro, project summaries, stack notes, and contact path before adding graphics. If the text is unclear, badges will not fix it.
Choose only useful visuals
Use badges for scannable facts, a stats card for lightweight activity, GitHub City for an interactive 3D view, or profile-3d-contrib for a README image.
Automate with care
Actions that update images or metrics are useful, but they should not create noisy commits, broken paths, or slow-loading assets.
Review on mobile and profile view
Open the README from your actual GitHub profile, check image sizes, headings, link targets, and whether the first screen explains you clearly.
Examples by Profile Goal
The same GitHub profile README template should not serve every developer. Choose a pattern that matches the reader's job.
When in doubt, lead with the proof you want remembered. A hiring manager, package user, and open-source contributor will scan different details.
Job-search profile
Lead with role, stack, two strong projects, demo links, and a concise contact path. Keep activity visuals below project proof.
Open-source maintainer
Lead with maintained packages, contribution guidelines, documentation, issue triage, and sponsor or support links if relevant.
Student or early-career profile
Lead with learning focus, current projects, coursework, and a small progress signal. Avoid pretending every badge is production experience.
Creator or consultant
Lead with outcomes, case studies, writing, product links, and a simple way to start a conversation.
Static contribution PNGs
Use a GitHub contribution PNG only for fixed README examples or portfolio screenshots. Use live SVG cards when freshness matters.
How to Use Badges, Stats and 3D Contribution Visuals
Visuals are useful when they reduce effort for the reader. A badge can summarize a stack, a pinned repository can show work, and a 3D contribution visual can make activity memorable. The problem starts when the README becomes mostly generated widgets.
Use GitHub City when you want to give visitors an interactive way to explore contribution patterns. Use github-profile-3d-contrib when you specifically want a generated 3D calendar image inside the README. Use the contribution graph guide to understand why some commits or private work may not appear.
Keep image alt text descriptive, avoid huge animated files, and never let a third-party stats card be the only proof of your skill. The surrounding README text should explain what the visual means. If your activity section uses a streak widget, keep the GitHub streak stats guide nearby so the card is explained as a visible activity signal, not a productivity score.
Simple rule
If a visual does not help a visitor decide what to read, click, or trust next, remove it or move it lower on the page.
Checks Before Publishing the README
Before you call the profile finished, test the README as a public visitor. These checks catch the most common problems.
| Problem | Likely cause | Fix |
|---|---|---|
| Broken image | Wrong path, private asset, renamed branch, or generated file missing. | Open the raw image URL and verify filename case, branch, and relative path. |
| Profile feels slow | Too many remote badges, large GIFs, or several stats widgets. | Keep only essential visuals and prefer compressed static images. |
| No clear next step | The README describes everything but does not prioritize links. | Place the best project, portfolio, or contact path near the top. |
| Activity looks empty | GitHub has not counted the commits, or private contributions are hidden. | Check the official contribution graph before blaming a README widget. |
| Mobile overflow | Wide tables, unwrapped badges, or oversized images. | Use simple Markdown, smaller images, and avoid fixed-width HTML. |
FAQ About GitHub Profile README Templates
How do I add a README to my GitHub profile?
Create a public repository with the exact same name as your GitHub username, then add a README.md file. GitHub displays that README on your profile page.
What is the best GitHub profile README template?
The best template is the one that supports your current goal. Most developers should use an intro, selected projects, stack, activity signal, proof links, and contact section.
Should I use badges in a profile README?
Use badges sparingly. They are helpful for scannable stack or status signals, but a long badge wall is harder to read than a few project explanations.
Can I add a 3D contribution graph to my README?
Yes. Use profile-3d-contrib for an automated README image, or link to GitHub City when you want visitors to explore an interactive 3D contribution city.
Should my README include GitHub stats cards?
Stats cards are optional. They can add context, but they should not replace project explanations, documentation links, or real examples of work.
How long should a profile README be?
Aim for enough detail to guide the visitor without making them scroll through everything you have ever done. For many profiles, 5 to 8 focused sections are enough.