What makes a GitHub README badge useful?
A GitHub README badge is a small image, usually placed near the project title, that communicates a verifiable fact. Build status, package version, license, documentation, coverage, and release activity are common examples. The badge is not the proof by itself; the linked source is what lets a reader inspect the claim.
The best GitHub README badges reduce uncertainty for someone deciding whether to install, use, contribute to, or trust a repository. A passing workflow badge can answer whether the main checks are green. A release badge can show whether the project is maintained. A license badge can help a reader find the permissions before using the code.
Do not confuse README badges with GitHub Achievements, Profile Trophy, or contribution visuals. Those are different signals with different owners and purposes. The GitHub Achievements guide covers official profile badges, while the Profile README ideas guide explains when a badge supports a profile story instead of replacing project proof.
A practical rule is to keep the first row short enough to scan on a phone. If a visitor must pass ten colorful badges before reaching the project explanation, the badges are no longer helping the README. Start with the facts that change a reader's next decision, then move optional details lower in the document.

GitHub README badge Markdown syntax
Most GitHub README badges use ordinary Markdown image syntax. The image URL comes first, and the optional link wrapper makes the badge useful beyond decoration. Keep the alt text short and meaningful because it is the fallback when the image cannot load and the accessible name for some readers.
A Shields.io endpoint can generate a badge from a supported service or a fixed label/value pair. Use the provider's documented endpoint format rather than guessing URL parameters. When a service changes its API, a guessed endpoint can silently turn into a broken image or stale claim.
The example below links a build badge to the workflow page. Replace the placeholder repository and endpoint with the real source for your project, then open the raw README while signed out to confirm that the image and destination are public.
[](https://github.com/your-name/your-repo/actions)| Badge type | Typical Markdown source | What it should prove |
|---|---|---|
| Build | workflow or CI status endpoint | Whether the checked workflow is passing for the branch or commit context. |
| Release | latest release or package version | Which version readers should inspect or install from the official source. |
| License | repository license badge | Where to find the project permission terms before reuse. |
| Documentation | docs or API reference link | A direct path to setup, usage, or reference material. |
| Coverage | coverage service endpoint | A test-coverage signal, only when the metric is maintained and explained. |
A maintenance workflow for GitHub README badges
Adding badges is easy; keeping them accurate is the real work. Treat the badge row like a compact status surface that needs review when the repository changes provider, branch, package name, release process, or license. A badge that was correct six months ago can become misleading after a migration.
Before adding a new visual, write the sentence it is meant to support. If the sentence is “this looks professional,” the badge probably belongs in the discard pile. If the sentence is “a visitor can confirm the current release without searching the repository,” the badge has a clear job.
The Profile README template guide helps place project proof and activity visuals in a readable order. If your badge row sits beside activity cards, compare it with the GitHub README Stats guide so the same signal is not repeated three times.
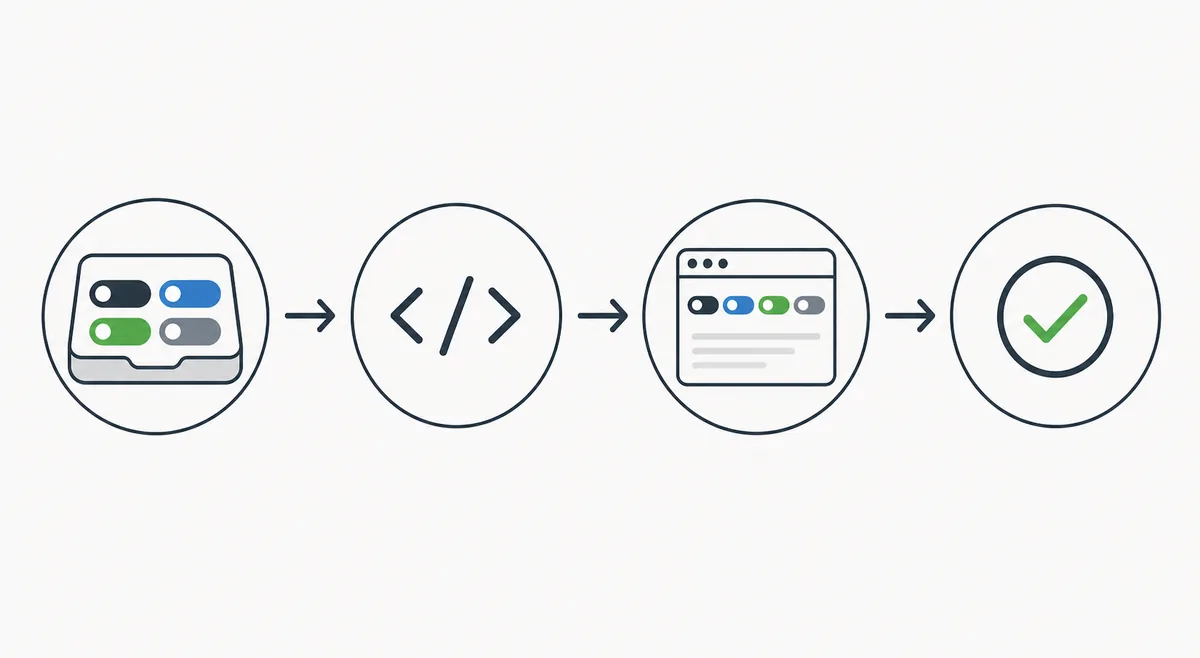
Choose the reader question
Decide whether the badge answers a build, release, license, documentation, compatibility, or quality question. Do not start from a collection of colorful examples.
Find the source of truth
Use the official workflow, package registry, repository license, documentation site, or maintained metric provider. The source should be public and understandable.
Add the image and link
Use Markdown image syntax, a useful alt label, and a link to the evidence page. Keep the code readable so the next maintainer can update it.
Check the rendered README
Open the repository page and raw README on desktop and mobile widths. Confirm that images load, links open the expected destination, and the row does not push project proof below the fold.
Review after repository changes
Recheck badges after changing branches, CI providers, package names, release channels, documentation hosts, or license files. Remove stale badges rather than hiding them in a large block.
Which GitHub README badges should you choose?
There is no universal best badge set. The right combination depends on what a visitor needs to decide. A library may need release, package, license, documentation, and CI signals. A portfolio project may need a live demo, deployment status, and a short technology note, while a private experiment may need no badge row at all.
Keep the primary keyword boundary focused on README badges rather than expanding into every GitHub badge. Repository badges, profile achievements, Profile Trophy cards, contribution graphs, and README stats have different search intents and should remain separate guides or supporting links.
Build status
Use it when tests or deployment checks are meaningful to the reader. Link to the workflow or checks page, not only to the repository homepage.
Release or package
Use a current version source when readers need to know what to install or inspect. Avoid showing a version number that is updated manually in two places.
License
Keep a license badge when reuse permissions matter. Link it to the actual license file and make sure the repository license is the one you intend to publish.
Documentation
A docs badge can be useful for libraries, APIs, and tools. It should lead to a maintained quick start or reference page.
Coverage or quality
Show the metric only when its meaning is clear and the provider is stable. A number without context can reduce trust instead of improving it.
GitHub README badge troubleshooting
When a badge does not render or no longer tells the truth, diagnose the source before replacing it with another provider. These checks cover the most common Markdown and maintenance failures.
| Problem | Likely cause | Fix |
|---|---|---|
| The badge is a broken image | The endpoint, path, query string, or provider changed. | Open the image URL directly, check the provider documentation, and update the source or remove the badge. |
| The badge loads but is stale | A manual value or old release endpoint is still in the README. | Point to a live source of truth and compare the badge with the release, workflow, or package page. |
| The link goes to the wrong page | The image URL works but the Markdown link wrapper was copied from another repository. | Open the destination while signed out and link to the exact build, release, license, or docs page. |
| Badges look crowded on mobile | Too many badges, long labels, or a wide table precedes the project explanation. | Keep the most decision-relevant badges, move optional details lower, and test a narrow viewport. |
| A private metric is invisible | The provider cannot access a private repository or the README is viewed without authentication. | Use a public source, explain the limitation in text, or omit the badge instead of making a private claim look public. |
| A badge conflicts with the project story | The README repeats stats, streaks, achievements, and badges without explaining their purpose. | Keep project proof first and retain only the visual signals that add different information. |
FAQ about GitHub README badges
How do I add badges to a GitHub README?
Add a Markdown image link to the README, then wrap it in a Markdown link when readers should be able to open the underlying build, release, license, or documentation source. Commit the change and inspect the rendered repository page.
What are the best GitHub README badges for a project?
Choose badges that answer a real visitor question: build status, current release, package version, license, documentation, or a maintained quality metric. The best set is usually short and specific to the repository.
Can I add GitHub badges to a profile README?
Yes, but keep them subordinate to your identity and project proof. The Profile README ideas guide covers how to use badges without letting a widget wall hide the work you want visitors to see.
Are README badges the same as GitHub Achievements?
No. README badges are Markdown images selected by a repository or profile owner. GitHub Achievements are official profile badges earned and displayed through GitHub's own system.
Should I use Shields.io for all my badges?
No. Shields.io is useful for documented endpoints and custom badge styles, but the source should remain clear. Use an official provider when it communicates the underlying status more directly, and avoid redundant copies.
How many badges should a README have?
There is no fixed number. Start with the smallest set that supports installation, trust, or contribution decisions, then remove any badge that is decorative, duplicated, stale, or difficult to verify.